“What is the best way to apply foundation?” is a question I often encounter, and the answer isn’t one-size-fits-all. It turns out there are a number of ways, but I thought it was time to highlight some popular options and give a detailed rundown. First, take a few minutes to watch a step-by-step guide on how to get flawless foundation coverage.
SUBSCRIBE TO PRIME WOMEN’S GUIDE TO BEAUTY ON YOUTUBE
First of all, there are so many different types of foundation—water-based, oil-based, silicone-based, pressed powder foundation, tinted moisturizers, bb, and cc creams—it can make your head spin thinking about it! However, if I had to narrow down my two favorites for mature skin, they would be:
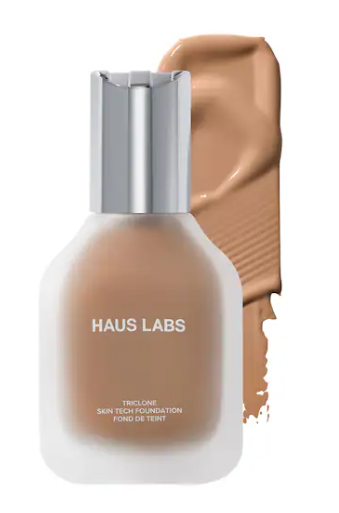
Pros: Available in a whopping 51 shades, this medium-coverage, long-wearing option is an Allure 2025 Best of Beauty Award Winner. The non-comedogenic foundation with fermented arnica helps reduce redness and protects from environmental stress.
Pros: Available in 50+ shades, this full-coverage, natural matte foundation lasts up to 24 hours and delivers waterproof, sweat-, humidity-, and transfer-resistant wear.
Two just don’t seem like enough, so if neither option looks like it will fit the bill for you, check out our article to find out which foundation is right for you.
First Things First
After finding the foundation that is right for your skin, it’s time to find the best way to apply it for you specifically. Different strokes for different folks, right? In a sense, we are all artists! We all do art every morning when we put our makeup on, and every artist has their favorite way of doing things. Try a few different things out and see what the best way to apply foundation for you is!
Whichever way you choose…before you do anything…moisturize! Two I like:
Pros: This fabulous moisturizer restores the effects of the skin’s natural moisture balance, leaving it feeling comfortable, hydrated, and smooth
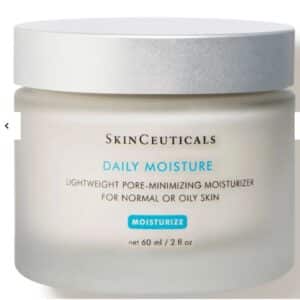
Pros: Formulated with nutrient-rich algae extracts and a blend of botanical extracts, this daily moisturizer protects skin and leaves it feeling soft and smooth without any greasy residue. It’s great for oily, normal, or combination skin types.
Best 3 Ways to Apply Foundation
Fingers
This is an excellent way to get your product all warmed up and ready to go! I love using your fingers because they stimulate cell growth by getting the blood flowing in your face. It will help slow down the aging process – it’s like yoga for your face!
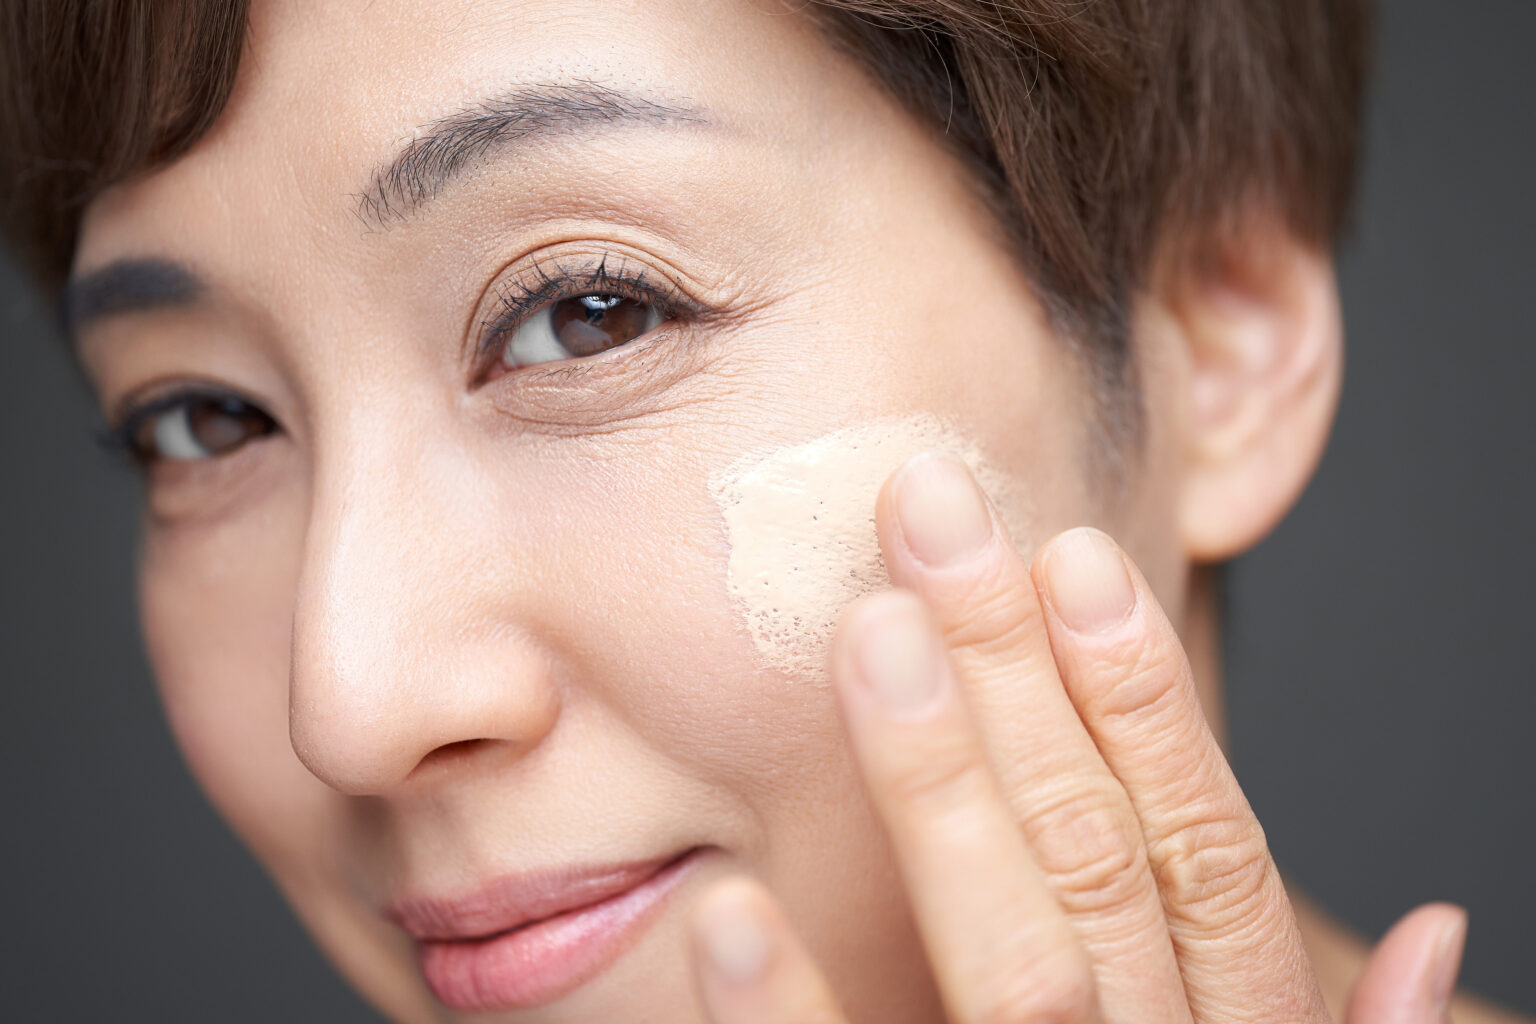
Put a little pump on the back of your hand, then apply it to your face in little circles, making sure to rub it in where it needs to be. Don’t be shy!
Brush
Pour as much foundation as you need on the back of your hand or a small palette. Then, using a medium-sized brush head (that’s not too fluffy), work in small controlled 2″ circles starting in the center of your face and working your way outward (think the nose and then moving towards cheeks, then forehead, and then chin). And don’t forget your neck – always blend your color down onto your neck. A fun trick for using a brush is to spray a little bit of setting spray onto it before picking up any foundation. This will help it glide on smoother and stay longer.
Make sure to clean your brushes every week!
Some favorite brushes for foundation:

Pros: This plush foundation brush has super-soft bristles that build coverage and blend liquids, powders, and creams with pro-like precision.
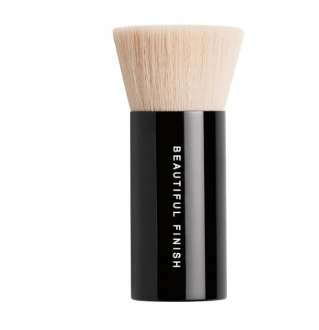
Pros: Specifically engineered to hold loose powder foundation like water in a sponge, the patent-pending Beautiful Finishing Brush features a skirted silhouette with a rounded center that provides impeccable, even coverage.
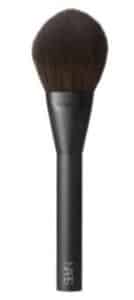
Pros: This buffing brush smooths foundation into the skin for a seamless finish. It is perfect for powder foundations.
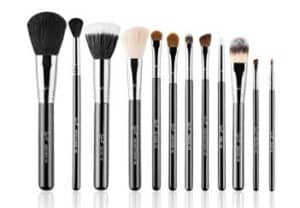
Pros: The Essential Kit contains 12 professional-quality face and eye brushes. This kit features all of the brushes needed to create a complete look at any level of artistry: five basic face brushes and seven basic eye brushes. It is excellent for beginners.
Sponge
These are so popular right now. Whether it be the top-of-the-line or just some small disposable sponges (my favorite), these are another great way to apply your foundation. Prep your face accordingly, and then take your sponge to the sink. This is a great way to keep it clean and dampen it for usage. Get it all scrubbed up with some brush soap, then keep soaking up water and squeezing out the sponge until it feels like all the soap is out and no more suds are coming out. Make sure to use a brush cleaner! If you use other dish or hand soaps, they will bubble FOREVER. Give it a great big squeeze, and even use a dish towel to get the excess water out so it’s just a bit damp.
Take your dampened sponge (this sounds weird, but bear with me), put big dots of foundation all over your face, and then use the sponge to blend everything in. Make sure to use small stippling motions like a baby shiatsu massage! If you rub the product over your face in back-and-forth motions, it can create large streaks, and you will just be rubbing the product around instead of working it into your skin. These are great for under the eyes, too. Having the sponge dampened in the beginning actually helps moisturize your skin even more, so you get a beautiful glowing look!
Favorite Brush Cleaner:
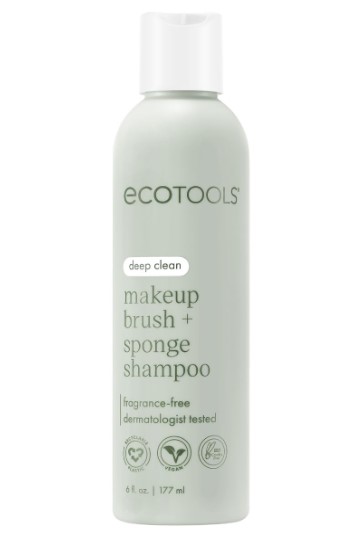
Pros: EcoTools Makeup Brush + Sponge Shampoo effectively removes makeup, oil, and other impurities from makeup brushes and sponges, keeping them in good condition for flawless makeup application.
Favorite Sponges:
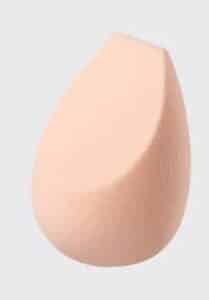
Pros: This multi-use sponge is designed for seamless foundation application, resulting in a naturally flawless, professional-effect finish.
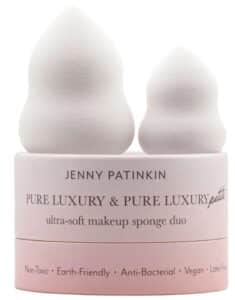
Pros: This sponge duo has a soft, velvety texture and a delightfully squishy consistency, transforming a basic beauty tool into a sensory experience while delivering a flawless makeup application.
Or check out the Jenny Patinkin Pure Luxury Au Naturel Green Tea Makeup Sponge.
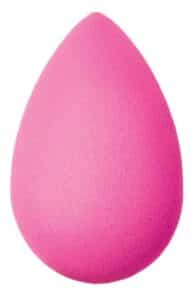
Pros: The unique shape and exclusive material, available only with Beautyblender®, ensures impeccable, streak-free application with minimal product waste. Use it with foundations, powders, and any other complexion products.
Read Next:
Easy Eye Makeup for Women over 50 video tutorial

