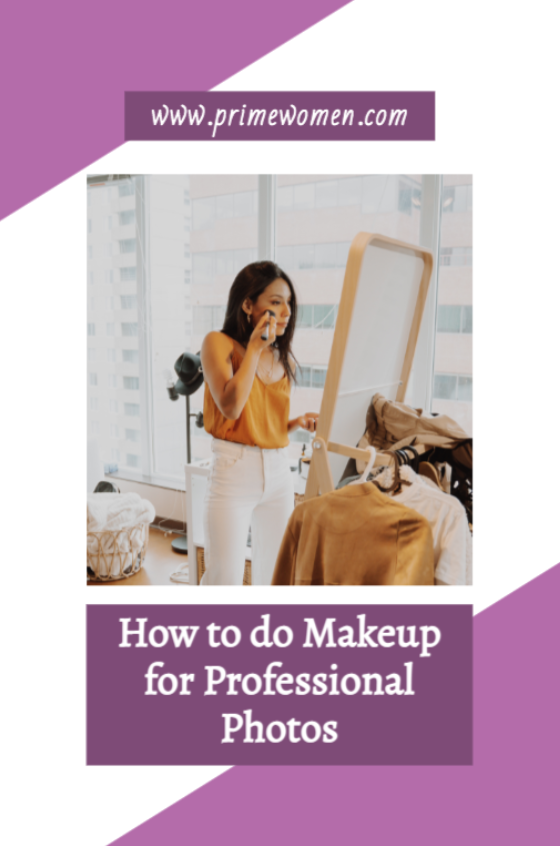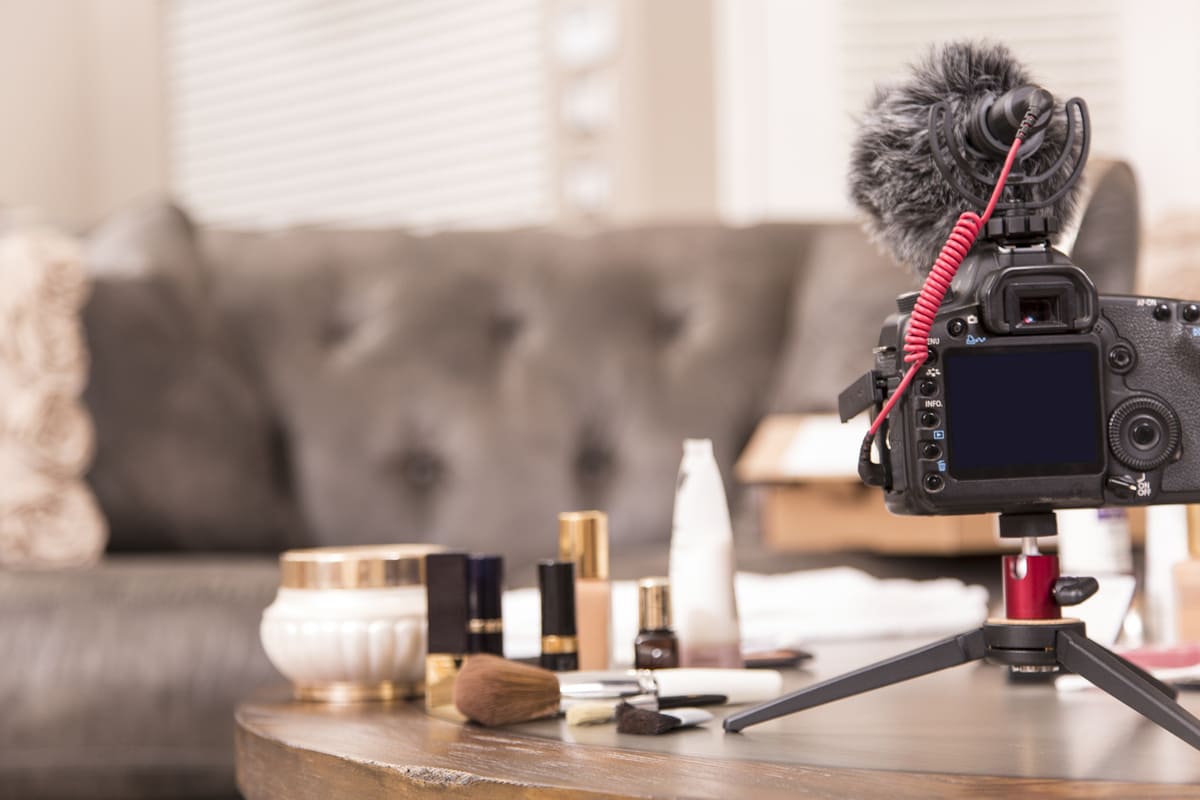
A picture is worth 1,000 words, and any photo of you should be screaming, “Gorgeous!” This easy tutorial explains the best methods for applying makeup for photos, so you’ll look like a million bucks! This guide by professional makeup artist Shannon Knox focuses on the eyes and brows to really define, highlight, and make them pop on camera. The final result is a natural and casual, but very pretty, look. It is versatile enough to be used for any camera-ready moment, like professional headshots, for your dating profile, or your next Facebook profile picture!
Subscribe to Prime Women’s Guide to Beauty on YouTube for other beauty and health videos.
5 Eye Makeup Tips for a Fabulous Look
1. Start with a Fresh Face
To look your best on camera, make sure to apply primer and a natural foundation to your face. If you need tips on how to best use foundation, check out this video tutorial.
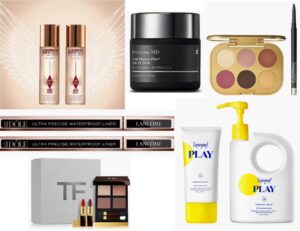
Once you have your face covered, you’ll want to add an eye primer. This ensures that the eyeshadow has a clean surface to adhere to, resulting in brighter, cleaner colors. For a great eye primer, we recommend Photo Finish Control Mattifying Primer or Lancome La Base Pro Oil Free Longwear Makeup Primer. If you don’t have primer, then a neutral, matte eyeshadow that matches your skin will do in a pinch.
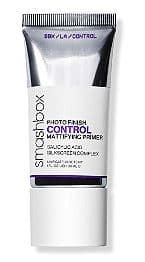
Photo Finish Control Mattifying Primer, $32
Pros: Controls the oil level on your skin utilizing a silkscreen complex, witch hazel, salicylic acid, and zinc.
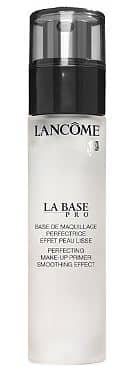
La Base Pro Oil-Free Longwear Makeup Primer, $45
Pros: Oil-free, refines the look of skin texture while blurring imperfections. Suitable for oily, normal, and dry skin and lasts all day.
2. Define Your Eyes With Eyeliner
When applying makeup for photos, you’ll want to use eyeliner to define your eyes. However, make sure you aren’t too heavy-handed, or the final look will be much more dramatic than you would like. Apply dark eyeliner, like Stay All Day Liquid Eyeliner or KVD’s Tattoo liner.
To get the best results, Shannon recommends applying it only to the upper lashes to make them look fuller. And don’t worry about it being perfect because you will smudge it out.
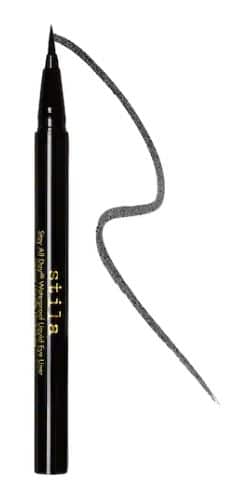
Stay All Day® Waterproof Liquid Eye Liner, $24
Pros: Easy application, all-day wear, full coverage, and waterproof.

Tattoo Liner Vegan Waterproof Liquid Eyeliner, $24
Pros: Award-winning, waterproof, has an ultra-precise applicator tip for easy application.
3. Add Just Two Colors for Eyes That Pop
Many people think shimmer is just for the younger generation, but they are wrong! When applied correctly, shimmer can really add depth to your eyes. However, when doing your makeup for photos, be aware that a bright flash might pick up shimmer. Use it sparingly, or you may risk flashbacks and other unflattering effects. For this tutorial, we used just a touch of shimmer in the middle of the lids.
The second color comes from the same palette as the shimmer; we like the Too Faced Born This Way The Natural Nudes Palette or the Urban Decay Naked3 Palette. For the second color, Shannon uses a deep plum that compliments the model’s skin tone, and then she blends the two colors using a windshield wiper motion. There really is no such thing as too much blending when it comes to makeup!
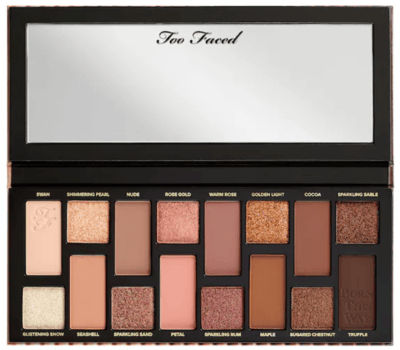
Pros: Includes 16 complimentary shades using pressed powder with both matte and shimmer finishes and includes hyaluronic acid for glowing skin.
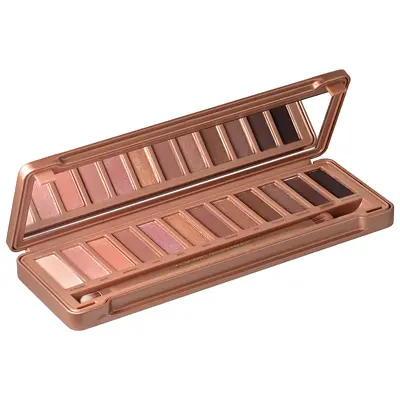
Pros: 12 lovely color options in either a matte or shimmer finish.
4. Get A Little Bit of Drama With Mascara
One of the key components to making your eyes pop on camera is giving a little love to your lashes. Start by curling your eyelashes to give them a little lift. Boosting them with a curler can also allow you to use less mascara. Before you actually apply any mascara, though, you’ll want to add a little bit of eyeliner right at the lower lash line for more definition.
If you find that you’ve gone outside the lines with your liner, don’t worry about it. A Q-tip will clean it right up. Remember, as with most things, it’s better to start slow. It’s always easier to add more than take away later. After applying your liner, you can add your mascara to your upper and lower lashes. If you prefer, you can skip to your brows and do your mascara as the final step.
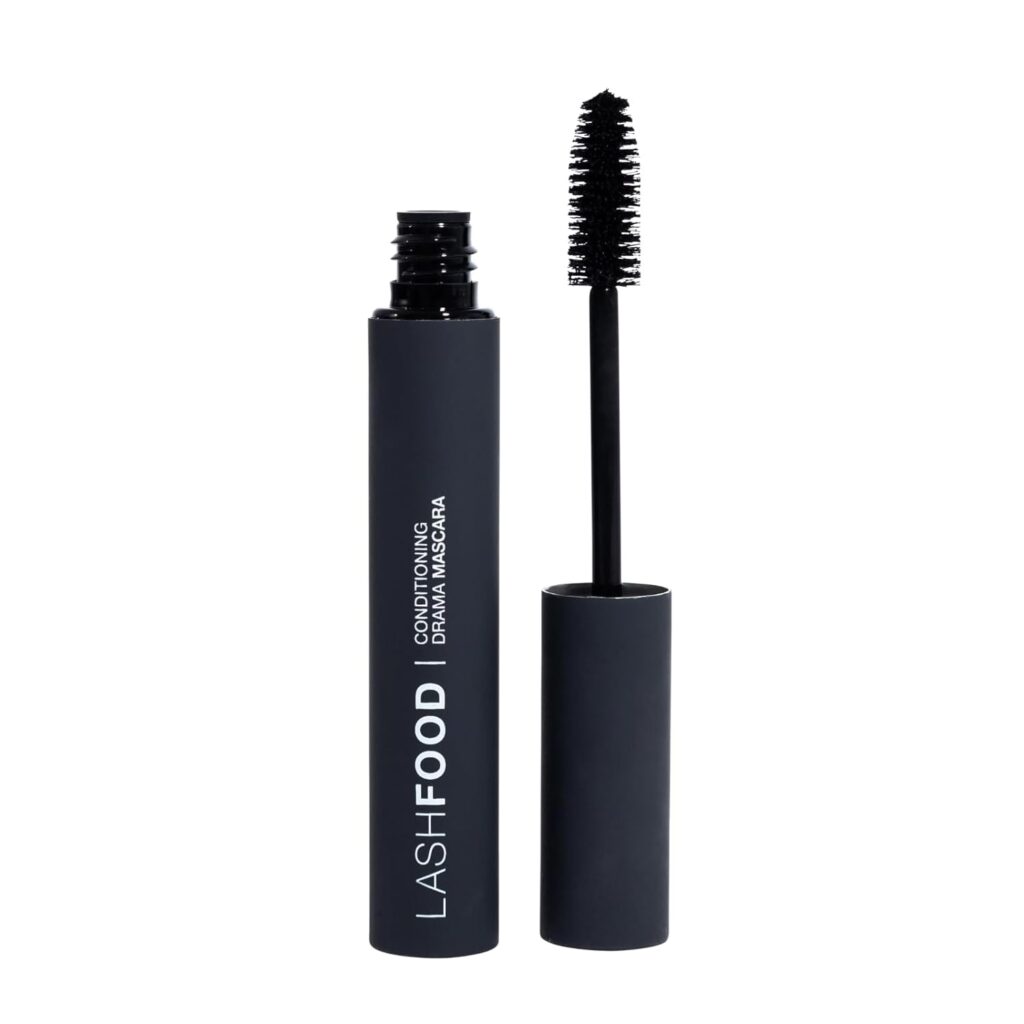
LashFood Conditioning Drama Mascara, $15
Pros: Conditions lashes while adding length and volume; high pigment color really makes your eyes pop.
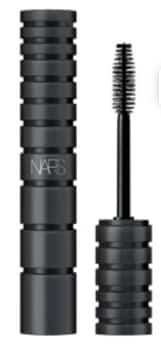
Pros: Delivers extreme volume and extreme pigment to make your eyelashes really stand out.
5. Shape Your Face by Shaping Your Brows
As we age, we may begin to lose color in our brows, so giving them a little attention is key! Start by using a brow pencil to add a bit of color. Shannon recommends the Nars Brow Perfector or the Anastasia Beverly Hills Brow Pencil. It comes in several colors, so you can choose the one that best compliments you. You’ll then want to use a spoolie to comb your brows and blend the color you just added. Both of our featured brow pencils have a built-in spoolie to make application a breeze.
Pros: Available in 8 shades to help shape and fill your brows to look thicker and more robust.

Brow Wiz Ultra-Slim Retractable Pencil, $25
Pros: Available in 12 shades and is ultraslim and retractable – ideal for outlining and filling in thinning eyebrows.
Read Next:
The 5-minute face: A video makeup lesson for women over 50
Makeup for Women Over 50: The 9 Best Foundations
How to be Photogenic: 4 Easy Tricks to Look Fabulous in Pictures