This month, let’s talk eye contour. Whether you want to spice it up or keep it “as is,” these are the beginning steps for every eye makeup.
A few points before we begin:
- Once again, prepping is key before any makeup application. If you feel like your lids are dry, just moisturize them at night before going to bed with Limelight’s Must Dew or a little bit of coconut oil. Bedtime is such a wonderful time to moisturize because you can just sleep the night away while your skin gulps down all the goodness it needs. If your lids feel oily and you have a problem with creasing, prime them with Too Faced’s Shadow Insurance or Urban Decay’s Primer Potion.
- Use whatever type of brushes feel the most comfortable to you. Just because a brush is labeled “crease” doesn’t mean it has to be used for that! Consider that a loose suggestion.
- Don’t be afraid to do what needs to be done to achieve your look! If you need to choke up on your brushes or use your other hand to gently pull your skin taut, go for it. I do it all the time! There is no shame. Never do your makeup where you have to hold your mirror. Your face is the priority here, and like I always say, makeup is a two handed sport!
- Play to your strengths! Depending on the color of your eyes, you can really make them stand out! With greens and blues I love to do warm undertones. Browns look lovely with cooler shades.
How To Create a Beautiful Eye Contour
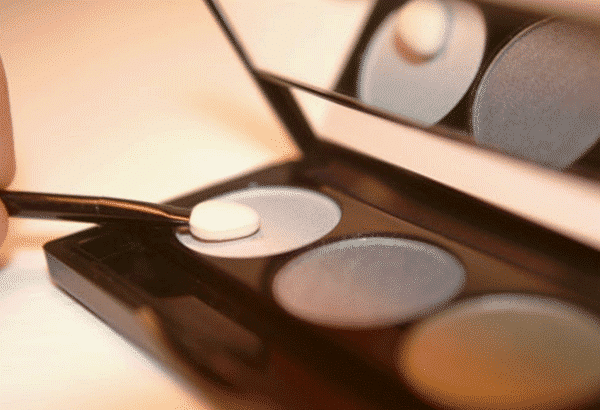
- Buy yourself a lovely neutral matte palette. I love Urban Decay’s Naked Basics eyeshadow palette – just 6 lovely, simple, neutral, matte colors to get you going. After prepping your lids, take a color as close to your skin tone as possible and cover your entire lid – the lash line all the way to the brow. That’s right. Everything!
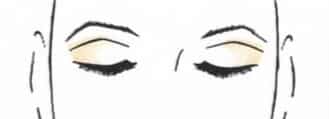
- This one may sound weird but stick with me; there is a method to my madness! Have you ever done your eyes beautifully and then opened them and thought, “You can’t see anything unless I walk around with my eyes half closed.” Or “Oh, mama, this eyeshadow is overtaking my eyes!” This tip will help! Keep your eyes open and look straight ahead. While keeping your eyes level, take a very light taupe and mark an almond shape right above the orbital socket (not the crease). The mark should be just enough to lift your eye while creating that shadow that gives depth. I call this the blueprint line. We don’t want anything darker above this line and we are just mapping that out. Only do the top line. Do not fill in your entire lid.

- Don’t worry about blending yet. We are going to lay everything down and then get sassy with that blending fluffy brush! Now, we are going to take that same blueprint color and make an arrow following up that “fence” line and bringing it only into the pupil. We want to keep it round and bowed so we have soft lines and are creating a round shape.

- Next, take the darkest color you want to put on (we are going darkest to lightest, outside inward) and we will lay the outside color. Following the same shape as our blueprint color but only taking it up to the crease, put down your dark color in the arrow as shown.

- Now, we will fill in our arrow! We have the darkest color (outside) and the blueprint color (middle) is already acting as the second darkest. Let’s take a pretty, light cream color and put it on the rest our lid from the middle to the inner corner. This will open our eyes. When we put darker colors on the inside it creates shadows and closes them off…let’s do the opposite!

- Get out that blending brush and go to happy town! Blend in small circles to keep the product looking separated but still soft. Taking a light color on that browbone can be pretty too. Not necessary of course, but still pretty.
- I love using the eyeshadow for the color under the lower lashline. When pencils and gels are used sometimes it can look heavy and cakey. The shadows give you the darkness you want while still achieving a pretty, soft, blended look. Taking your darkest color from step 3, line the outside of your eye to the middle or whatever intensity is the most comfortable to you.

- Use the pretty cream color and blend the rest of the way inward.
- Apply your top liner by starting from the outside and working inward. Then, work inward out and have them meet in the middle. Sometimes when drawing one long line things can get pushed into unwanted shapes, so this application method helps prevent that. Blacks or dark browns are great for lining – if you want to wear liner at all. Don’t forget to take it all the way to the outside. You don’t have to do the “cat eye” look, but make sure you take it to the end of your lashline so you don’t close off your eye.

- To give this look an extra pop, try some fun colors and/or shimmers over the mattes. Adding a kohl black to the outside 1/3 inner lower lid (water line) adds to your look, as well. Don’t be afraid to play, it’s only makeup, not a tattoo!
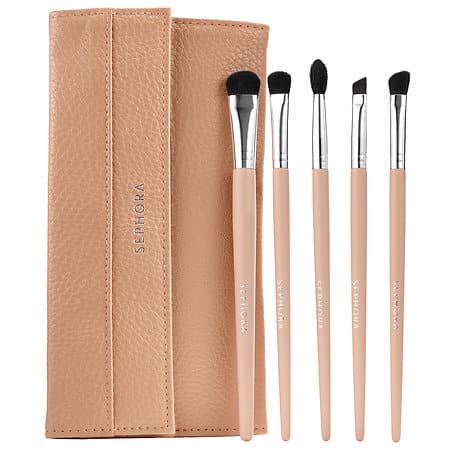
There you have it. The perfect eye contour. Now, have fun with it! To help create your perfect look, try this Sephora Collection Eyeconic Everyday Eye Brush Set.