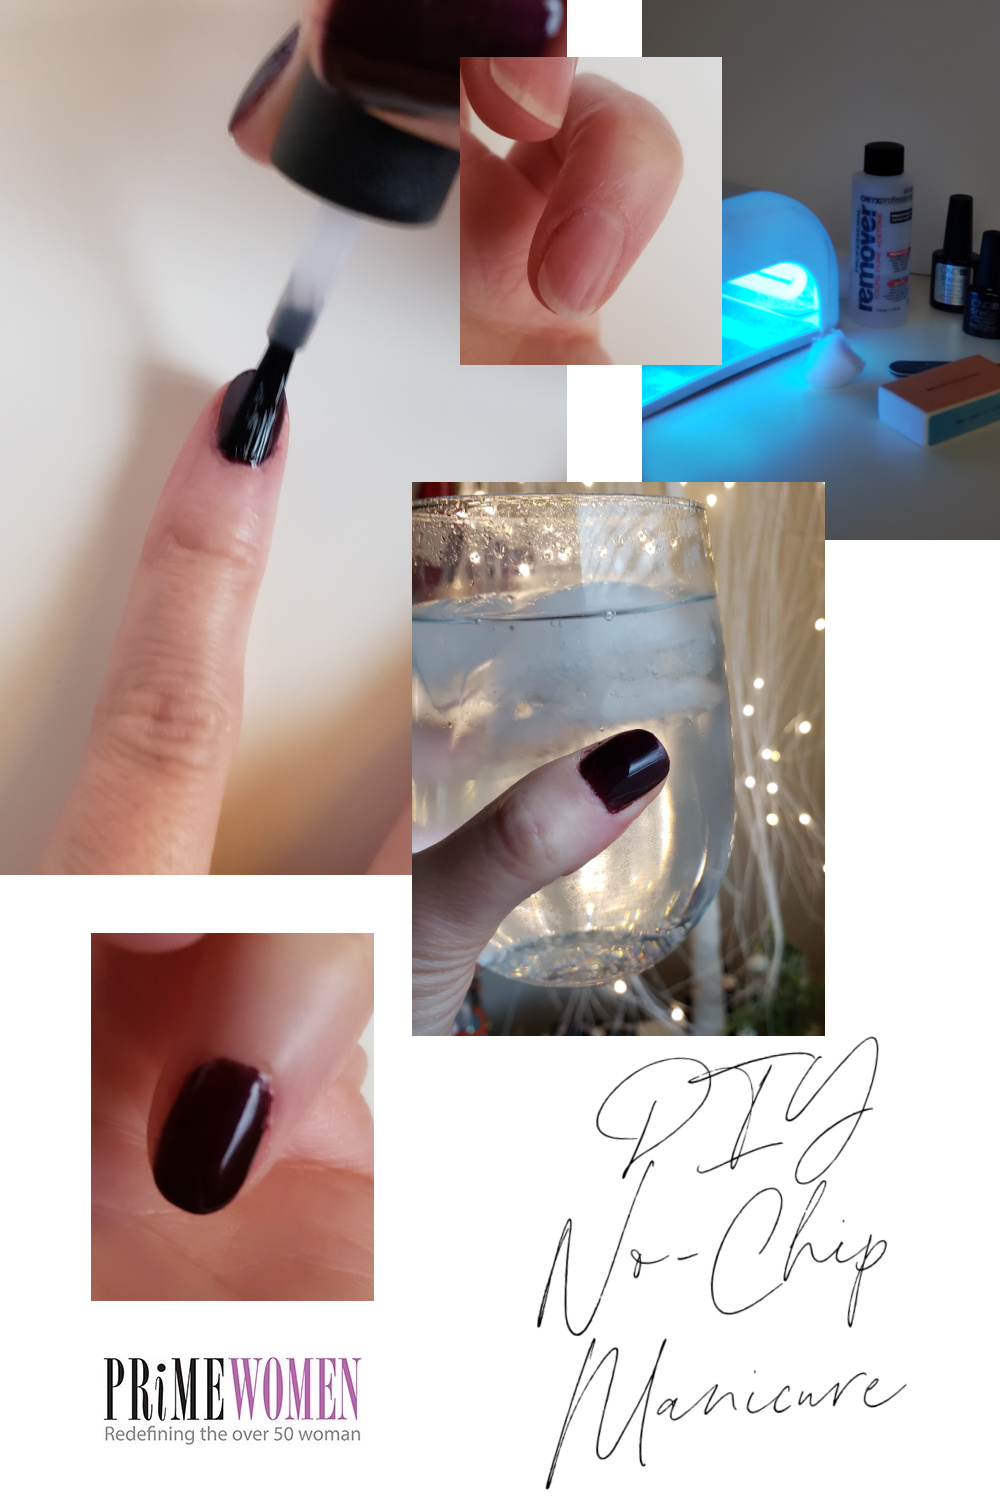
Like all important beauty regimens, such as those for hair and skin, your nails deserve some pampering. However, it’s not always possible or budget-friendly to visit your local nail salon time and time again. Giving yourself a no-chip manicure at home is easier than ever with the right materials and a little creativity.
DIY No-Chip Manicure: Start with Healthy Nails
Before we get into the specifics, let’s talk about keeping those nails beautifully healthy before choosing your next polished look.
Imagine that feeling you get from a spa visit, especially a massage or facial treatment. That’s the same attention you should give your hands and nails.
Add nail beds and cuticles to your moisturizing routine. This is especially important if your nails are prone to breaking or chipping. If your budget doesn’t have room for fancy products, a little coconut oil goes a long way.
Before you go to bed each night, melt a small amount of coconut oil in your hand. Massage the melted oil into your nail beds and nails. The oil’s moisturizing properties are great for treating dry, brittle nails. It is also wonderful for cuticle health.
If you’ve got any excess oil remaining, dab it under your eyes, rub it onto your elbows, or apply it any spot on your body in need of moisturizing.
No-Chip Manicure at Home: Supplies Needed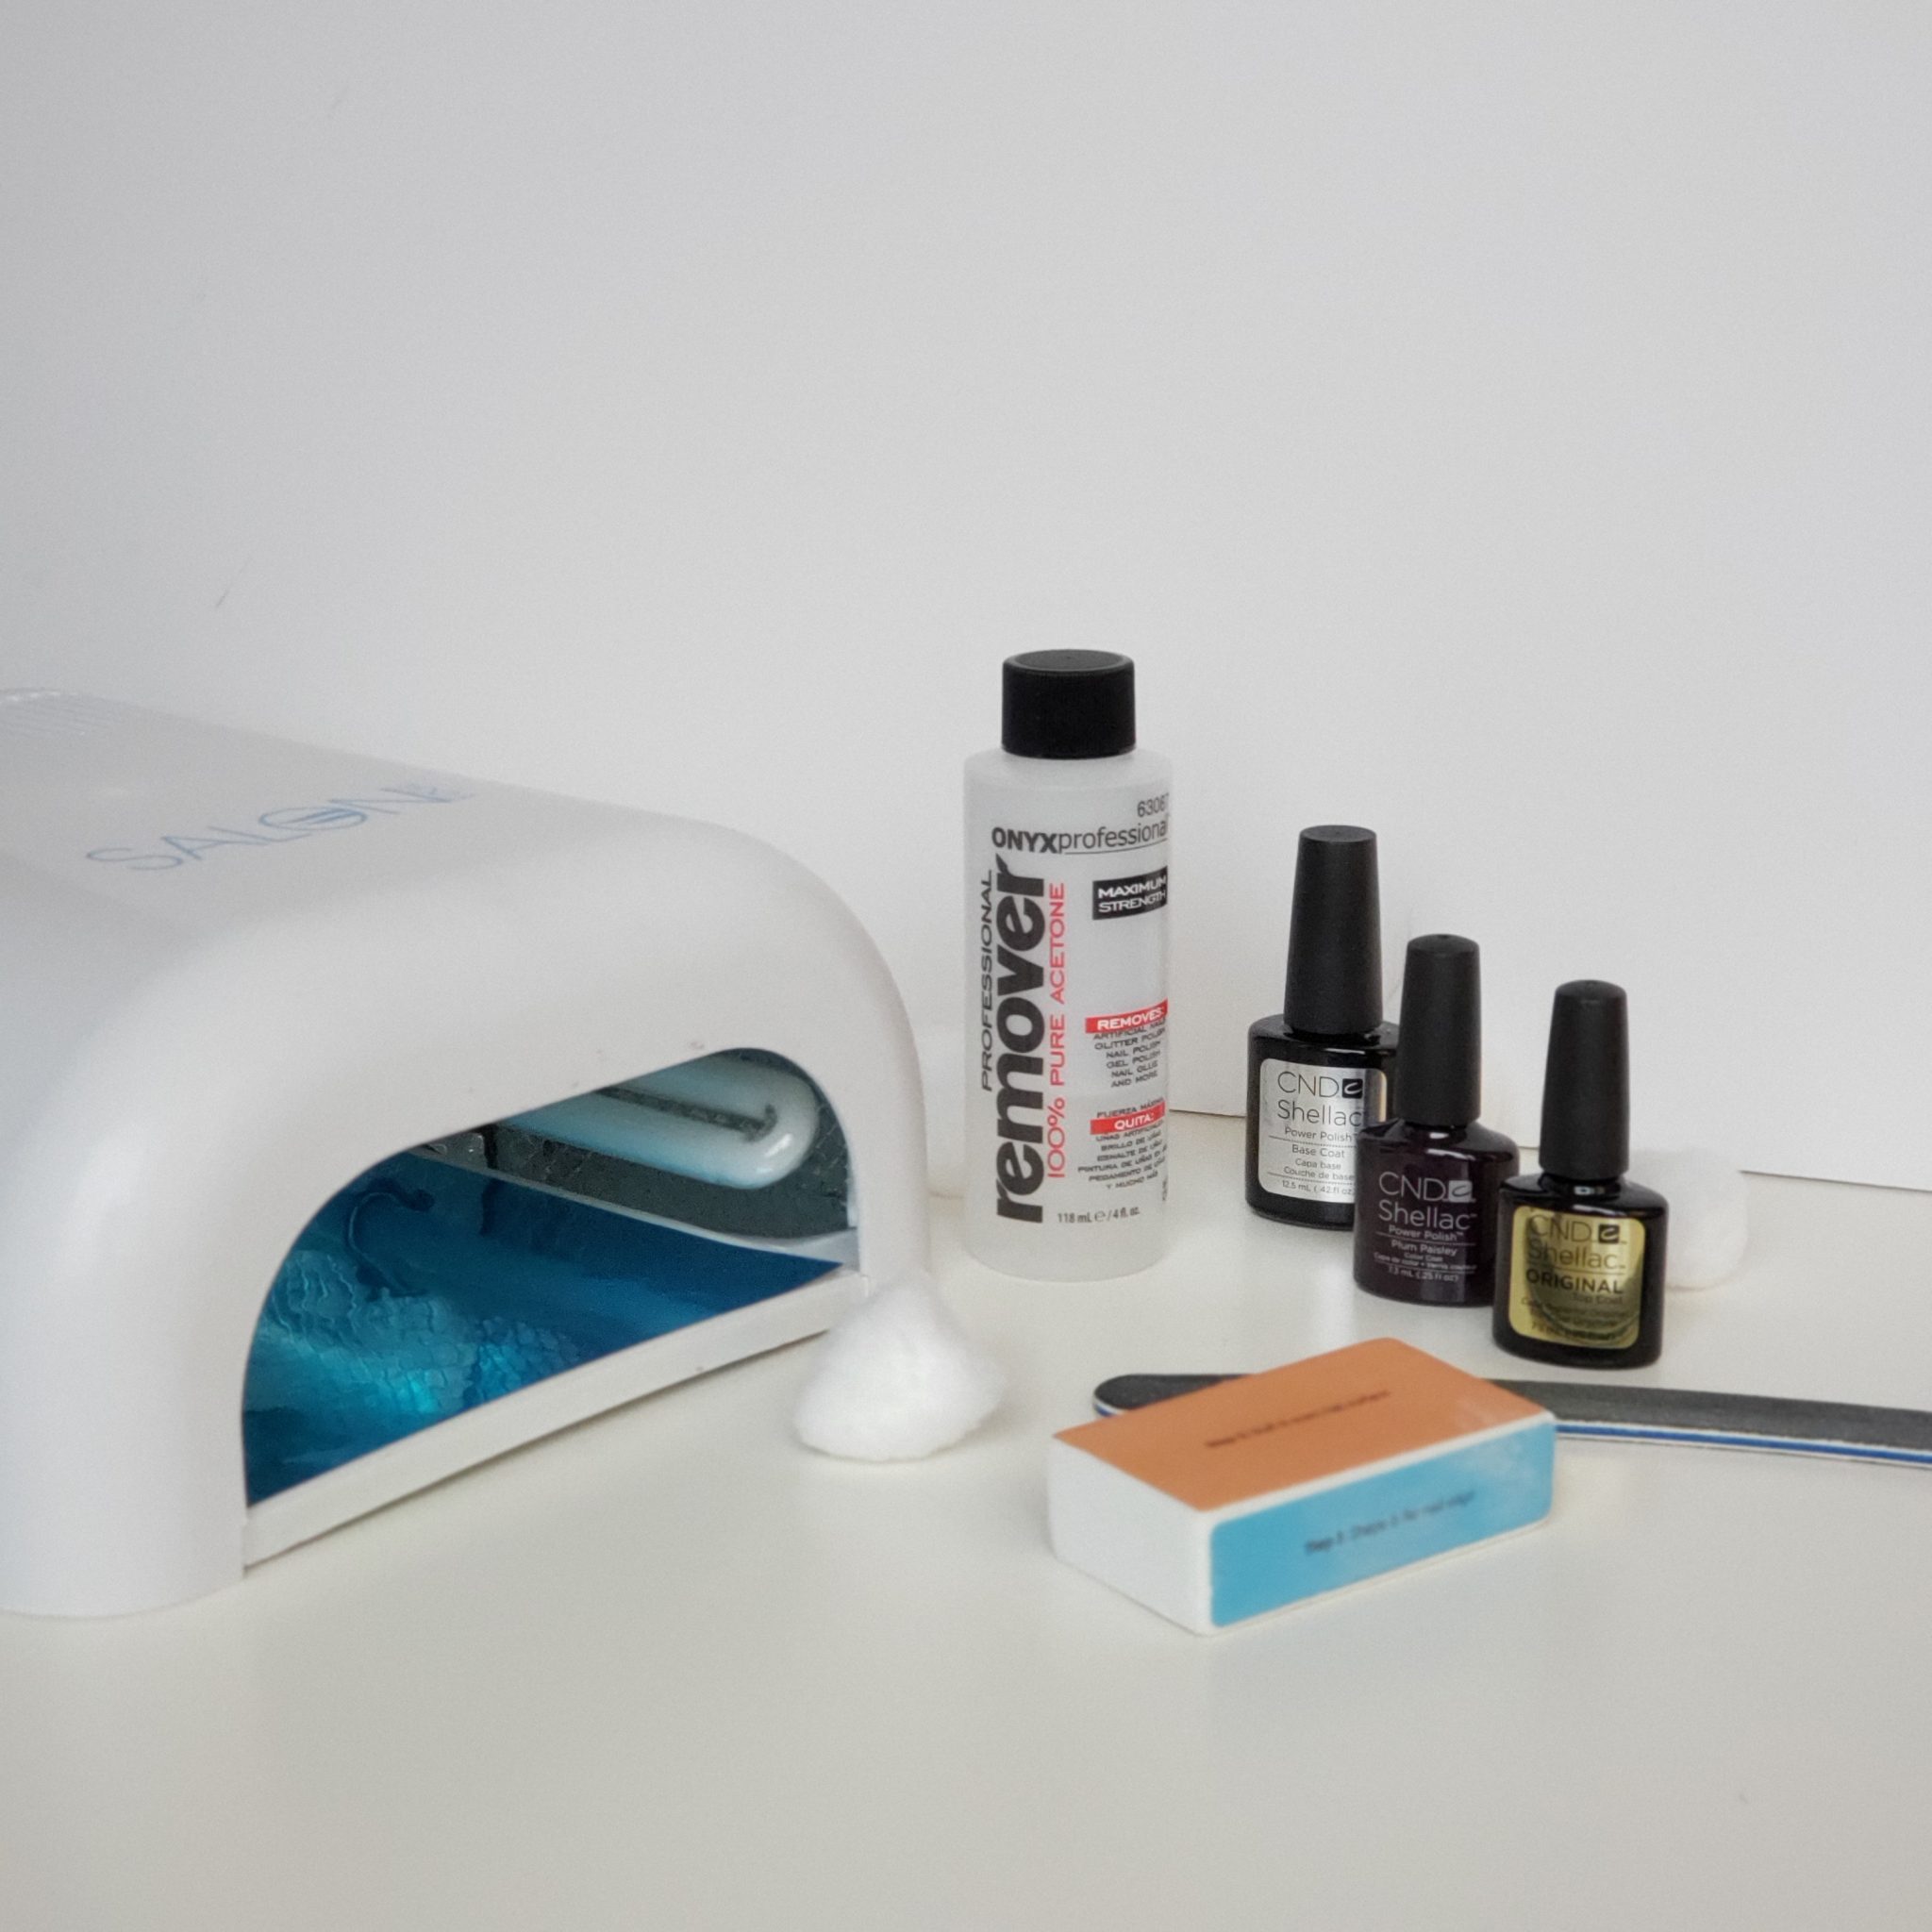
You’ll Need:
- Clippers
- File Block
- LED Light
- Gel Polish
- Base Coat
- Color Coat
- Top Coat
- Acetone (under $2 at Wal-Mart)
- Cotton Ball
- Glitter or sparkly powder (optional)
DIY No-Chip Manicure at Home in 7 Easy Steps
Step 1: Clip and shape nails as desired.
Step 2: Buff & Rough. Avoid using a lot of pressure or filing the surface for too long. The goal is to create texture on the surface of the nail so that the base coat has something to hold onto. (As opposed to removing layers of the nail.)
Step 3: Set yourself up in a well-lit and ventilated area. Apply a very thin layer of the base coat onto the rough nail surface. Place hands under LED light for 2 minutes. (Most gel polish lights have a built-in timer.)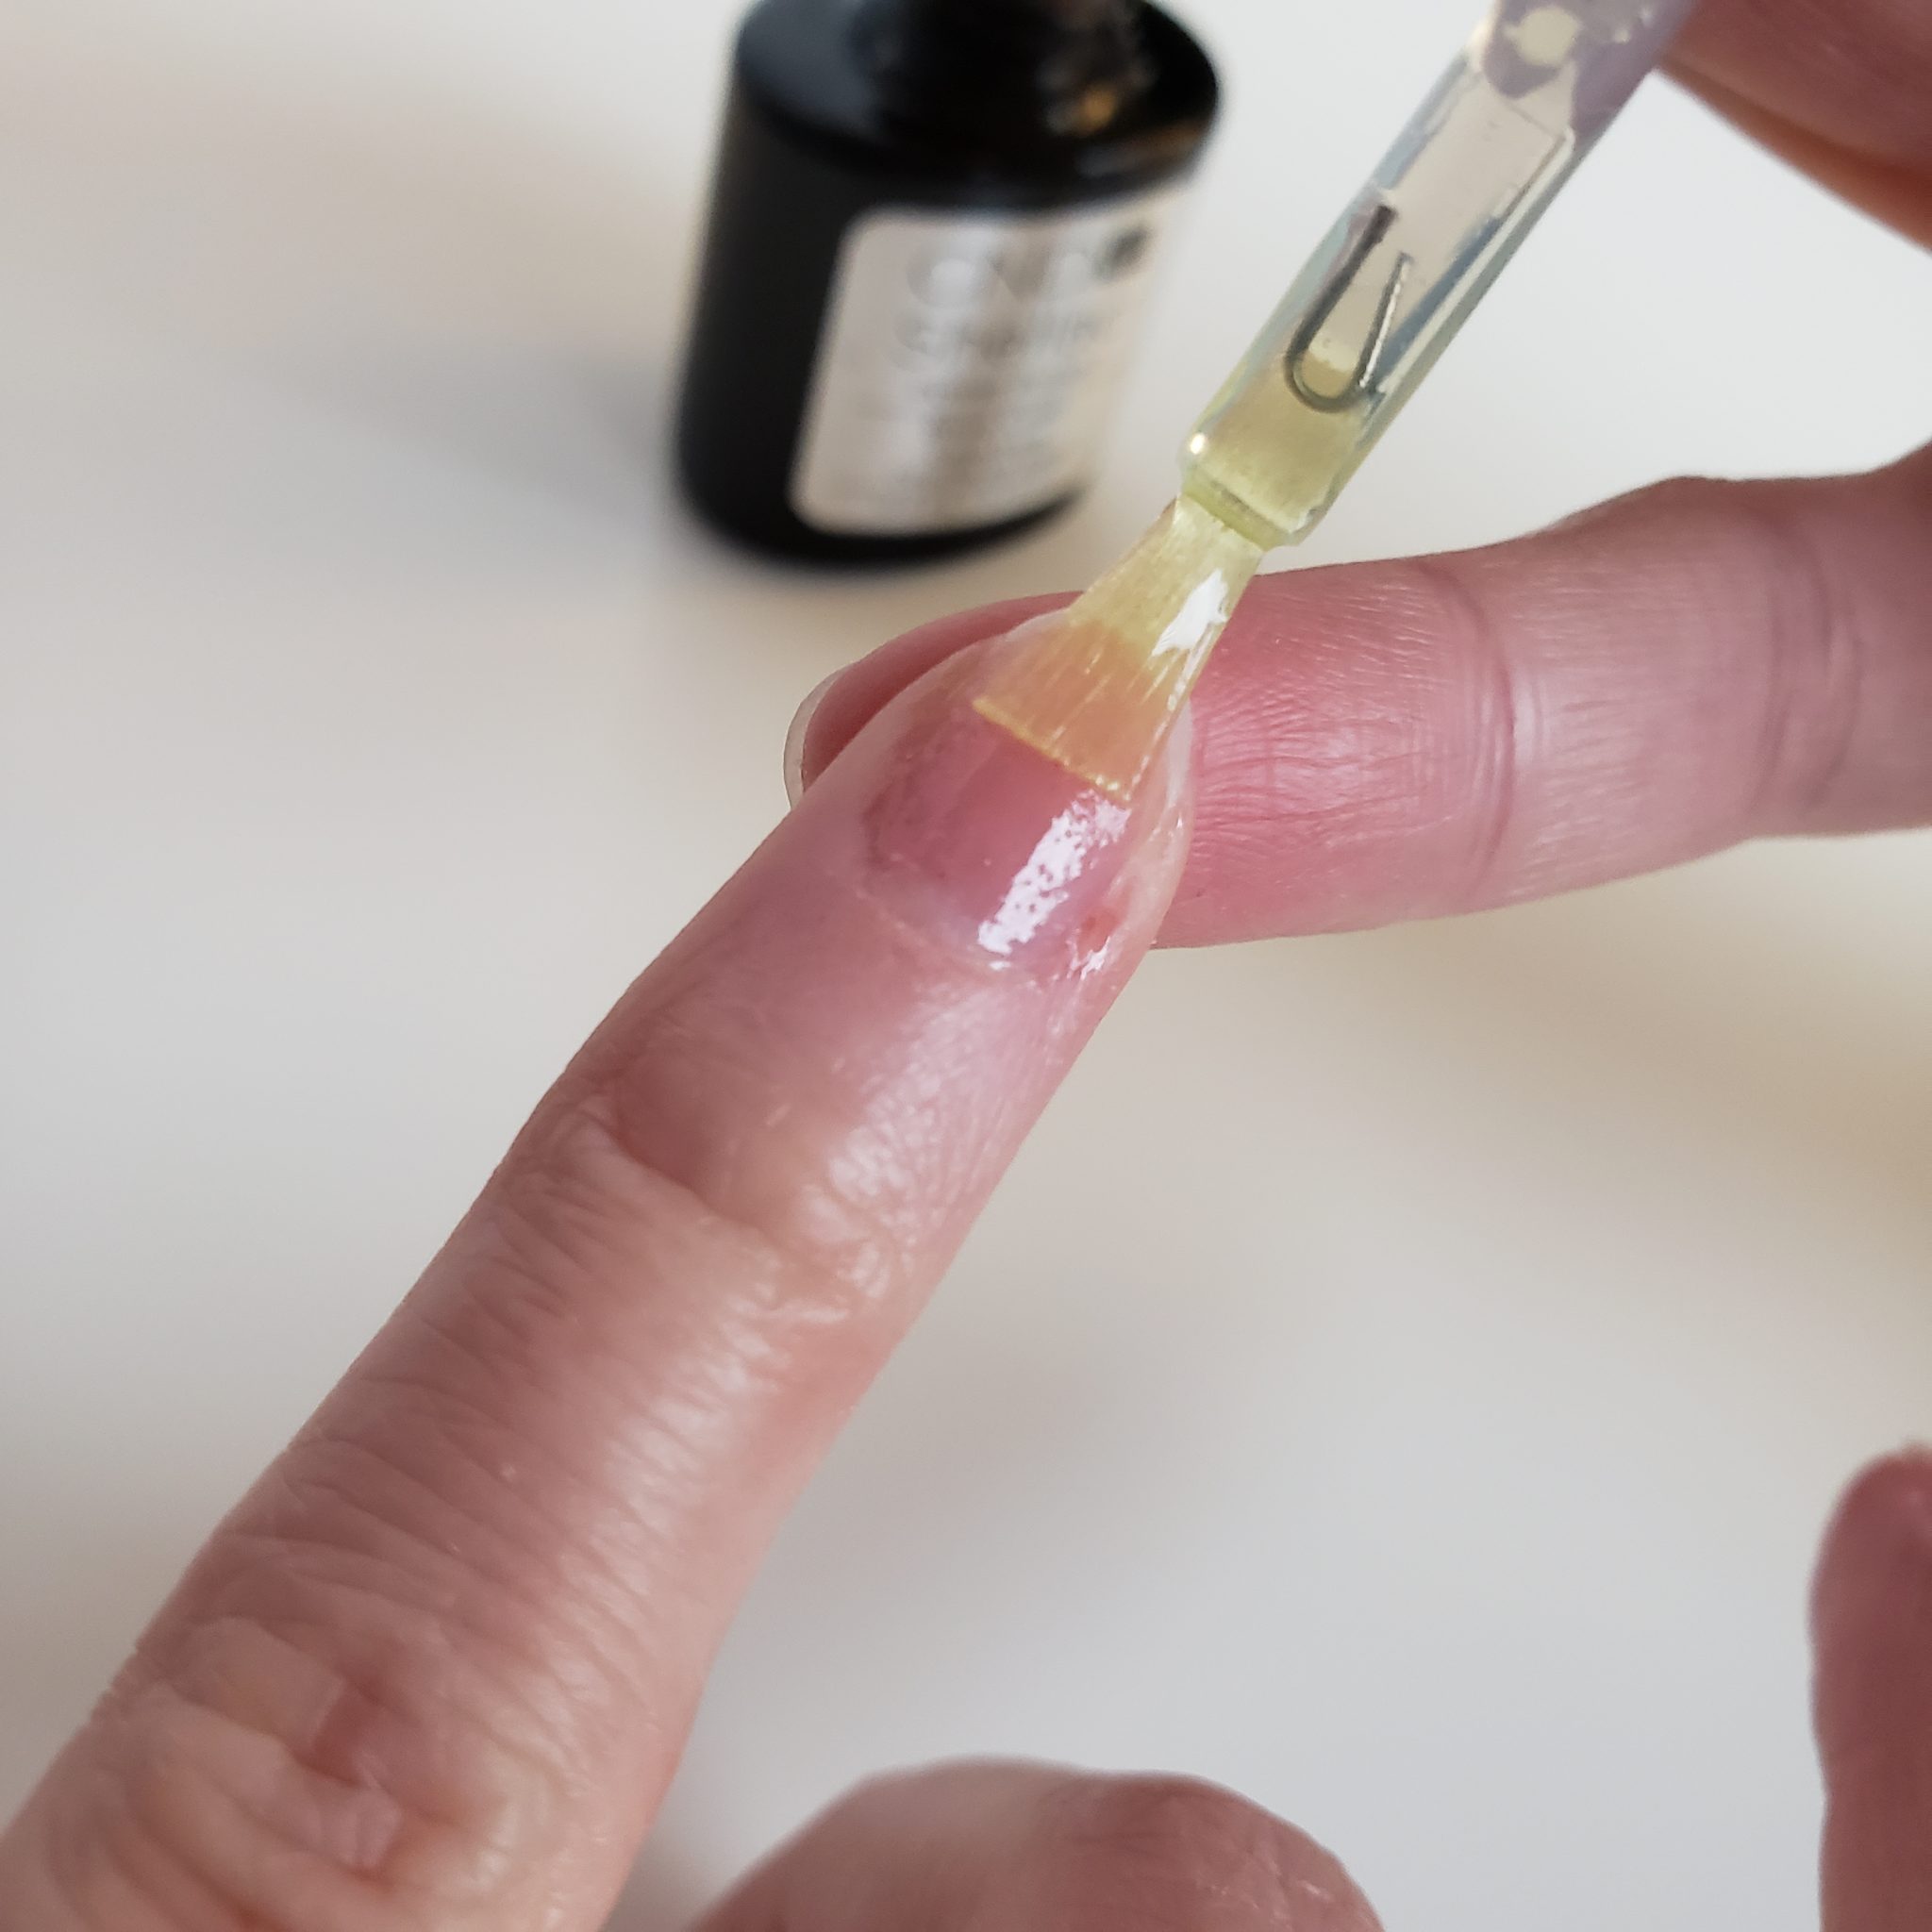
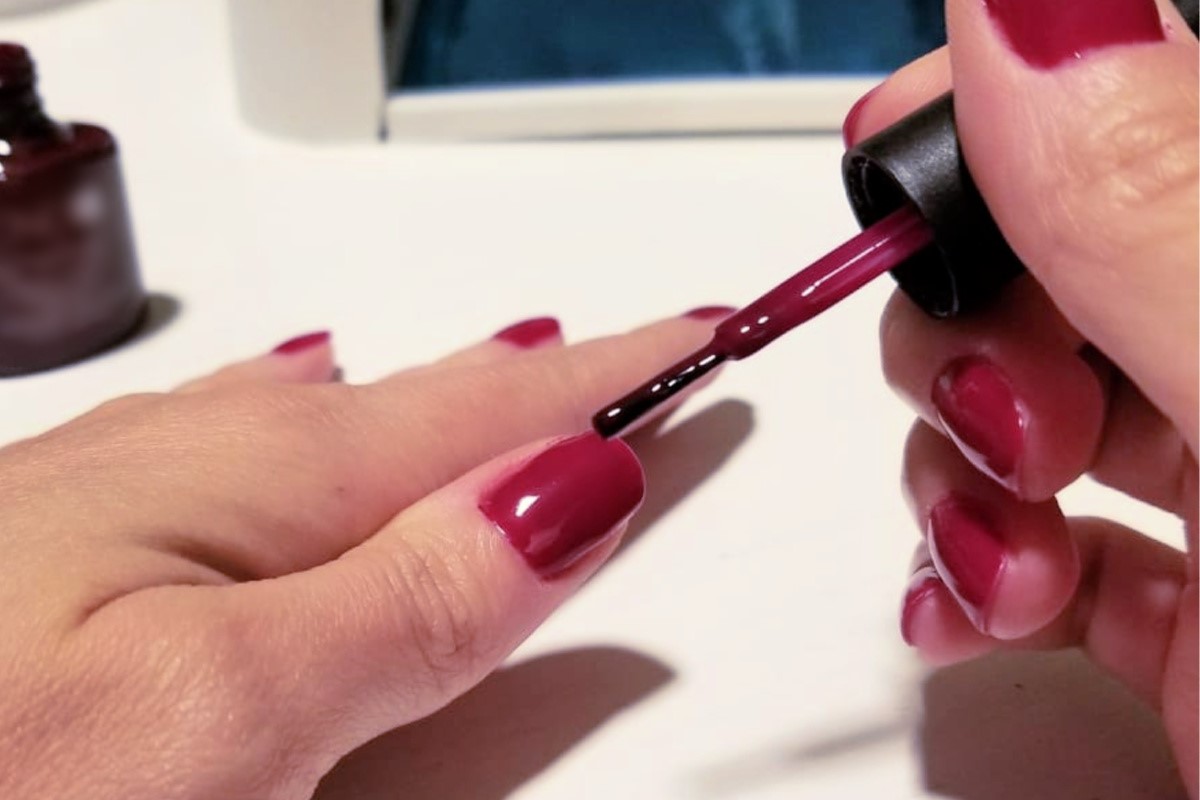
Step 4: Apply a thin, even color coat. Place hands under LED light for 2 minutes.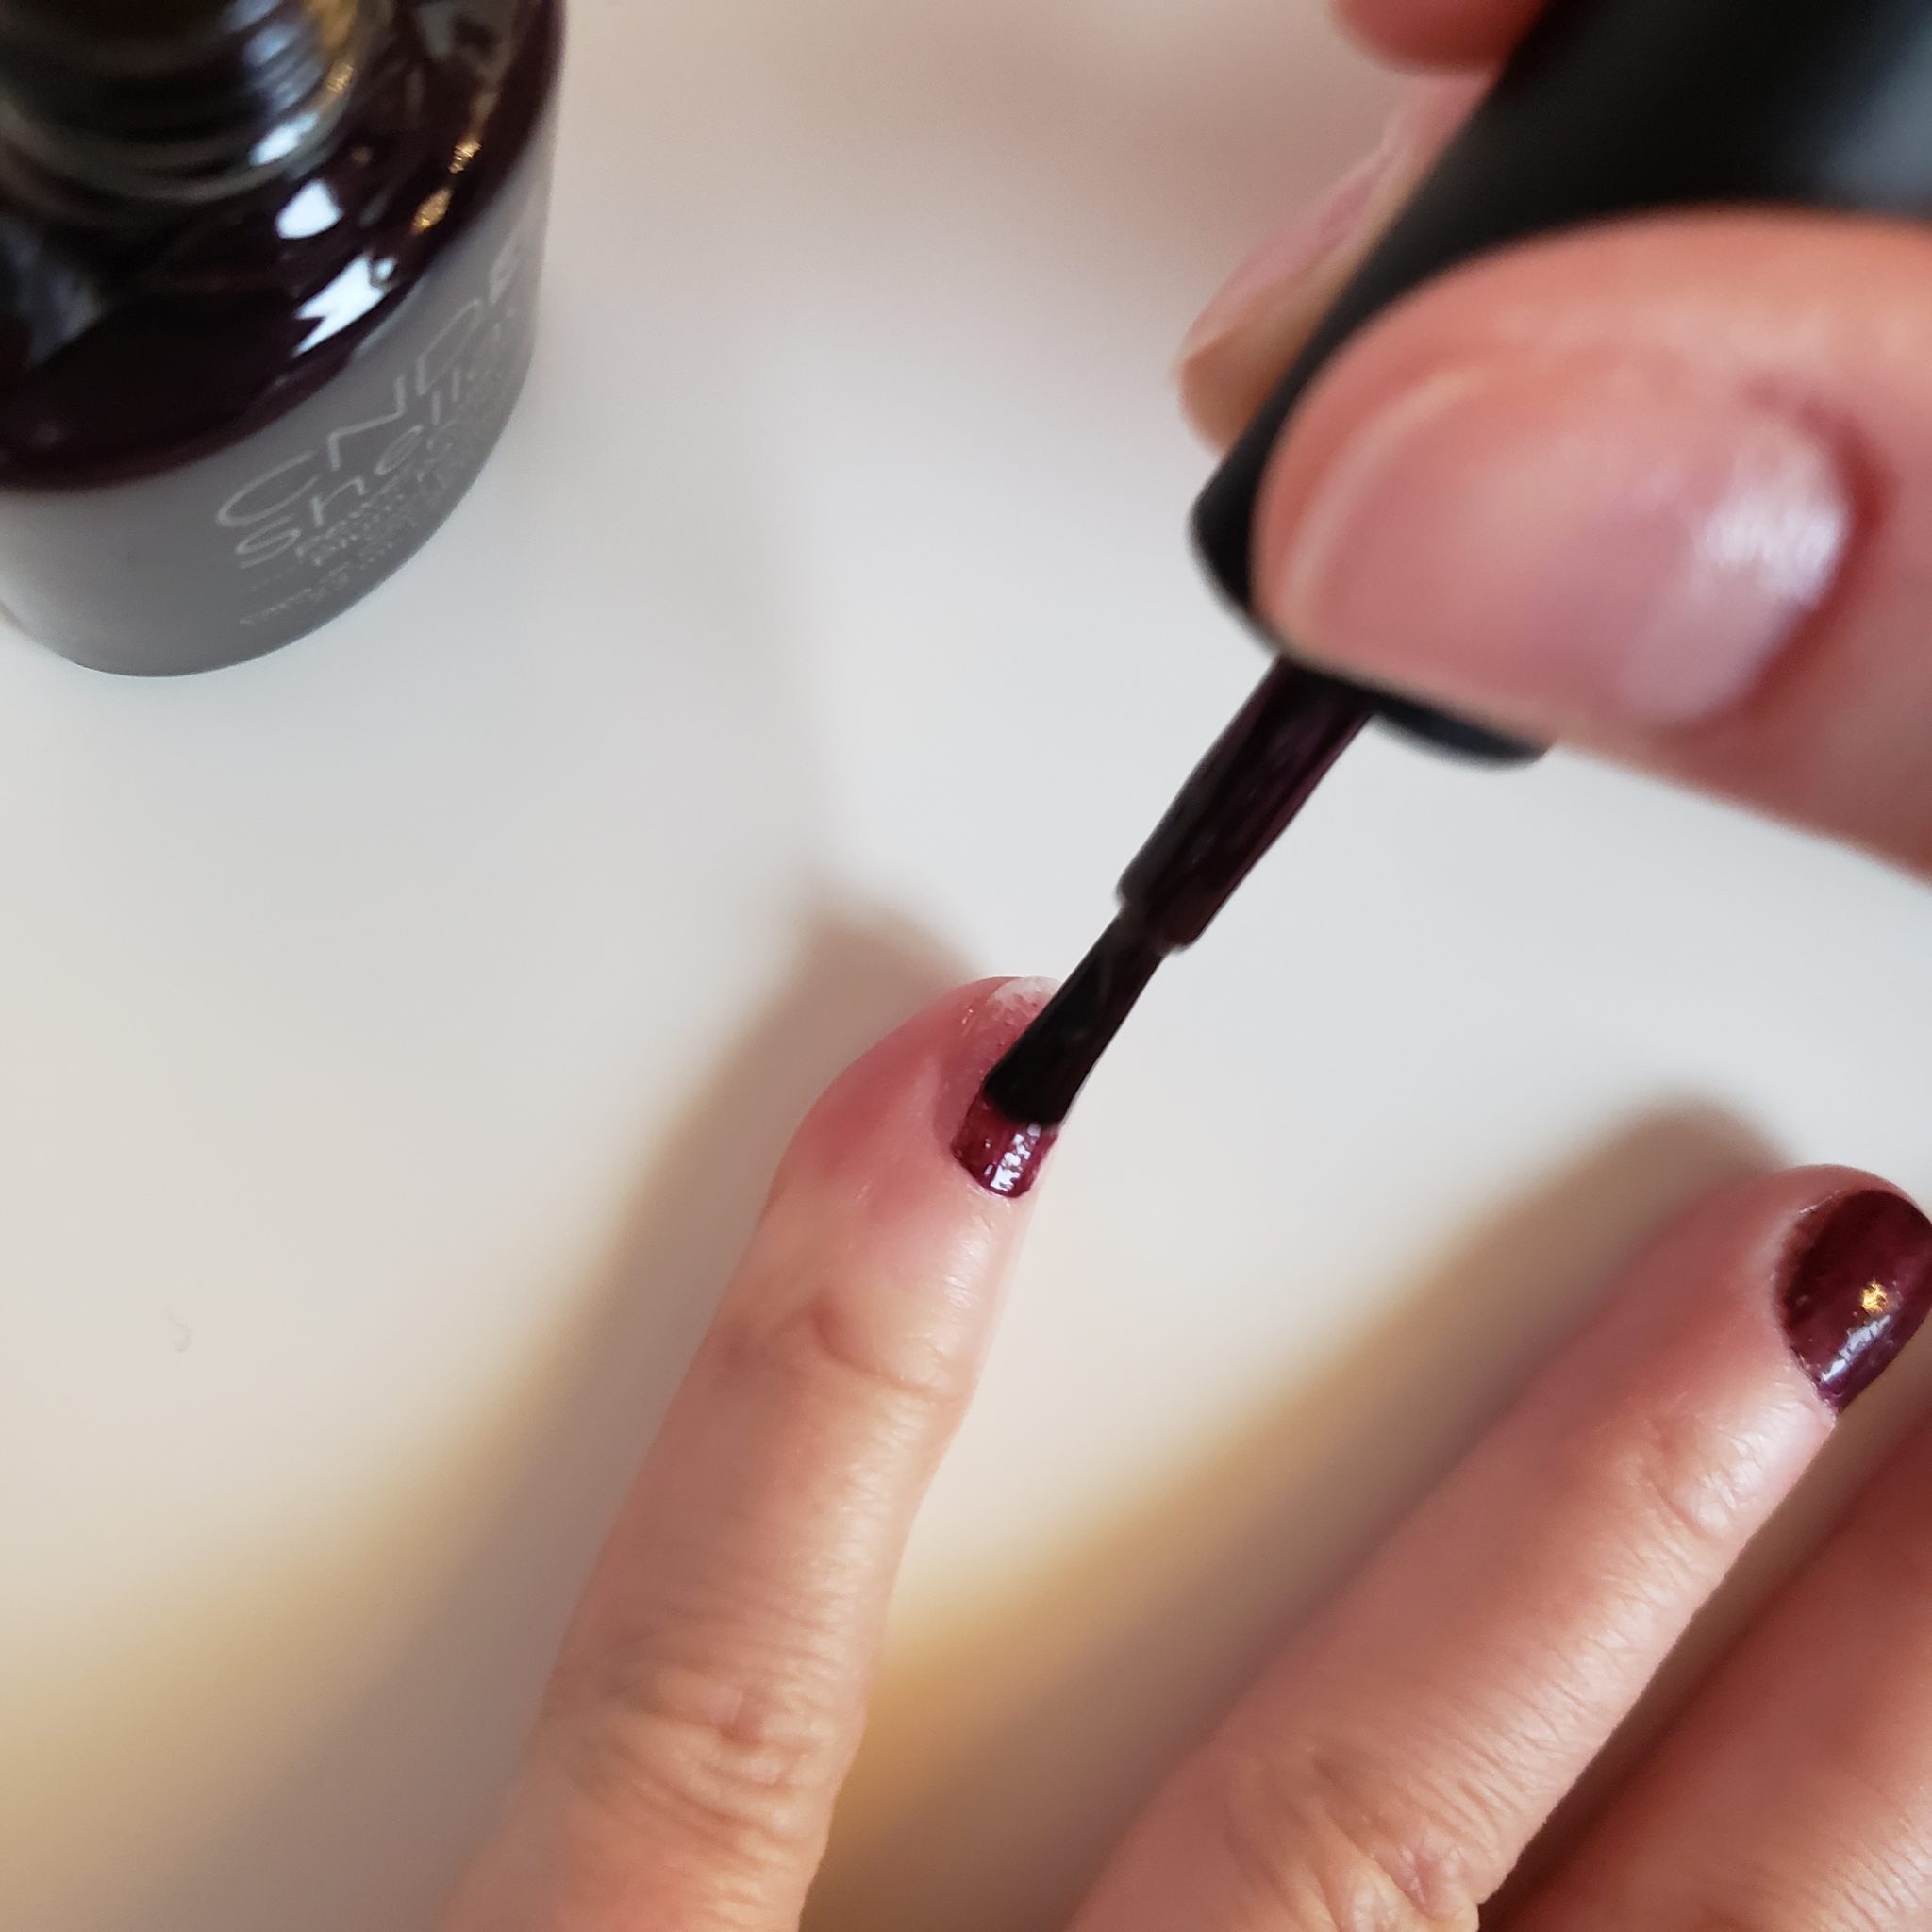
Step 5: Apply a second color coat making sure the polish is covering the entire nail. Place hands under LED light for 2 minutes.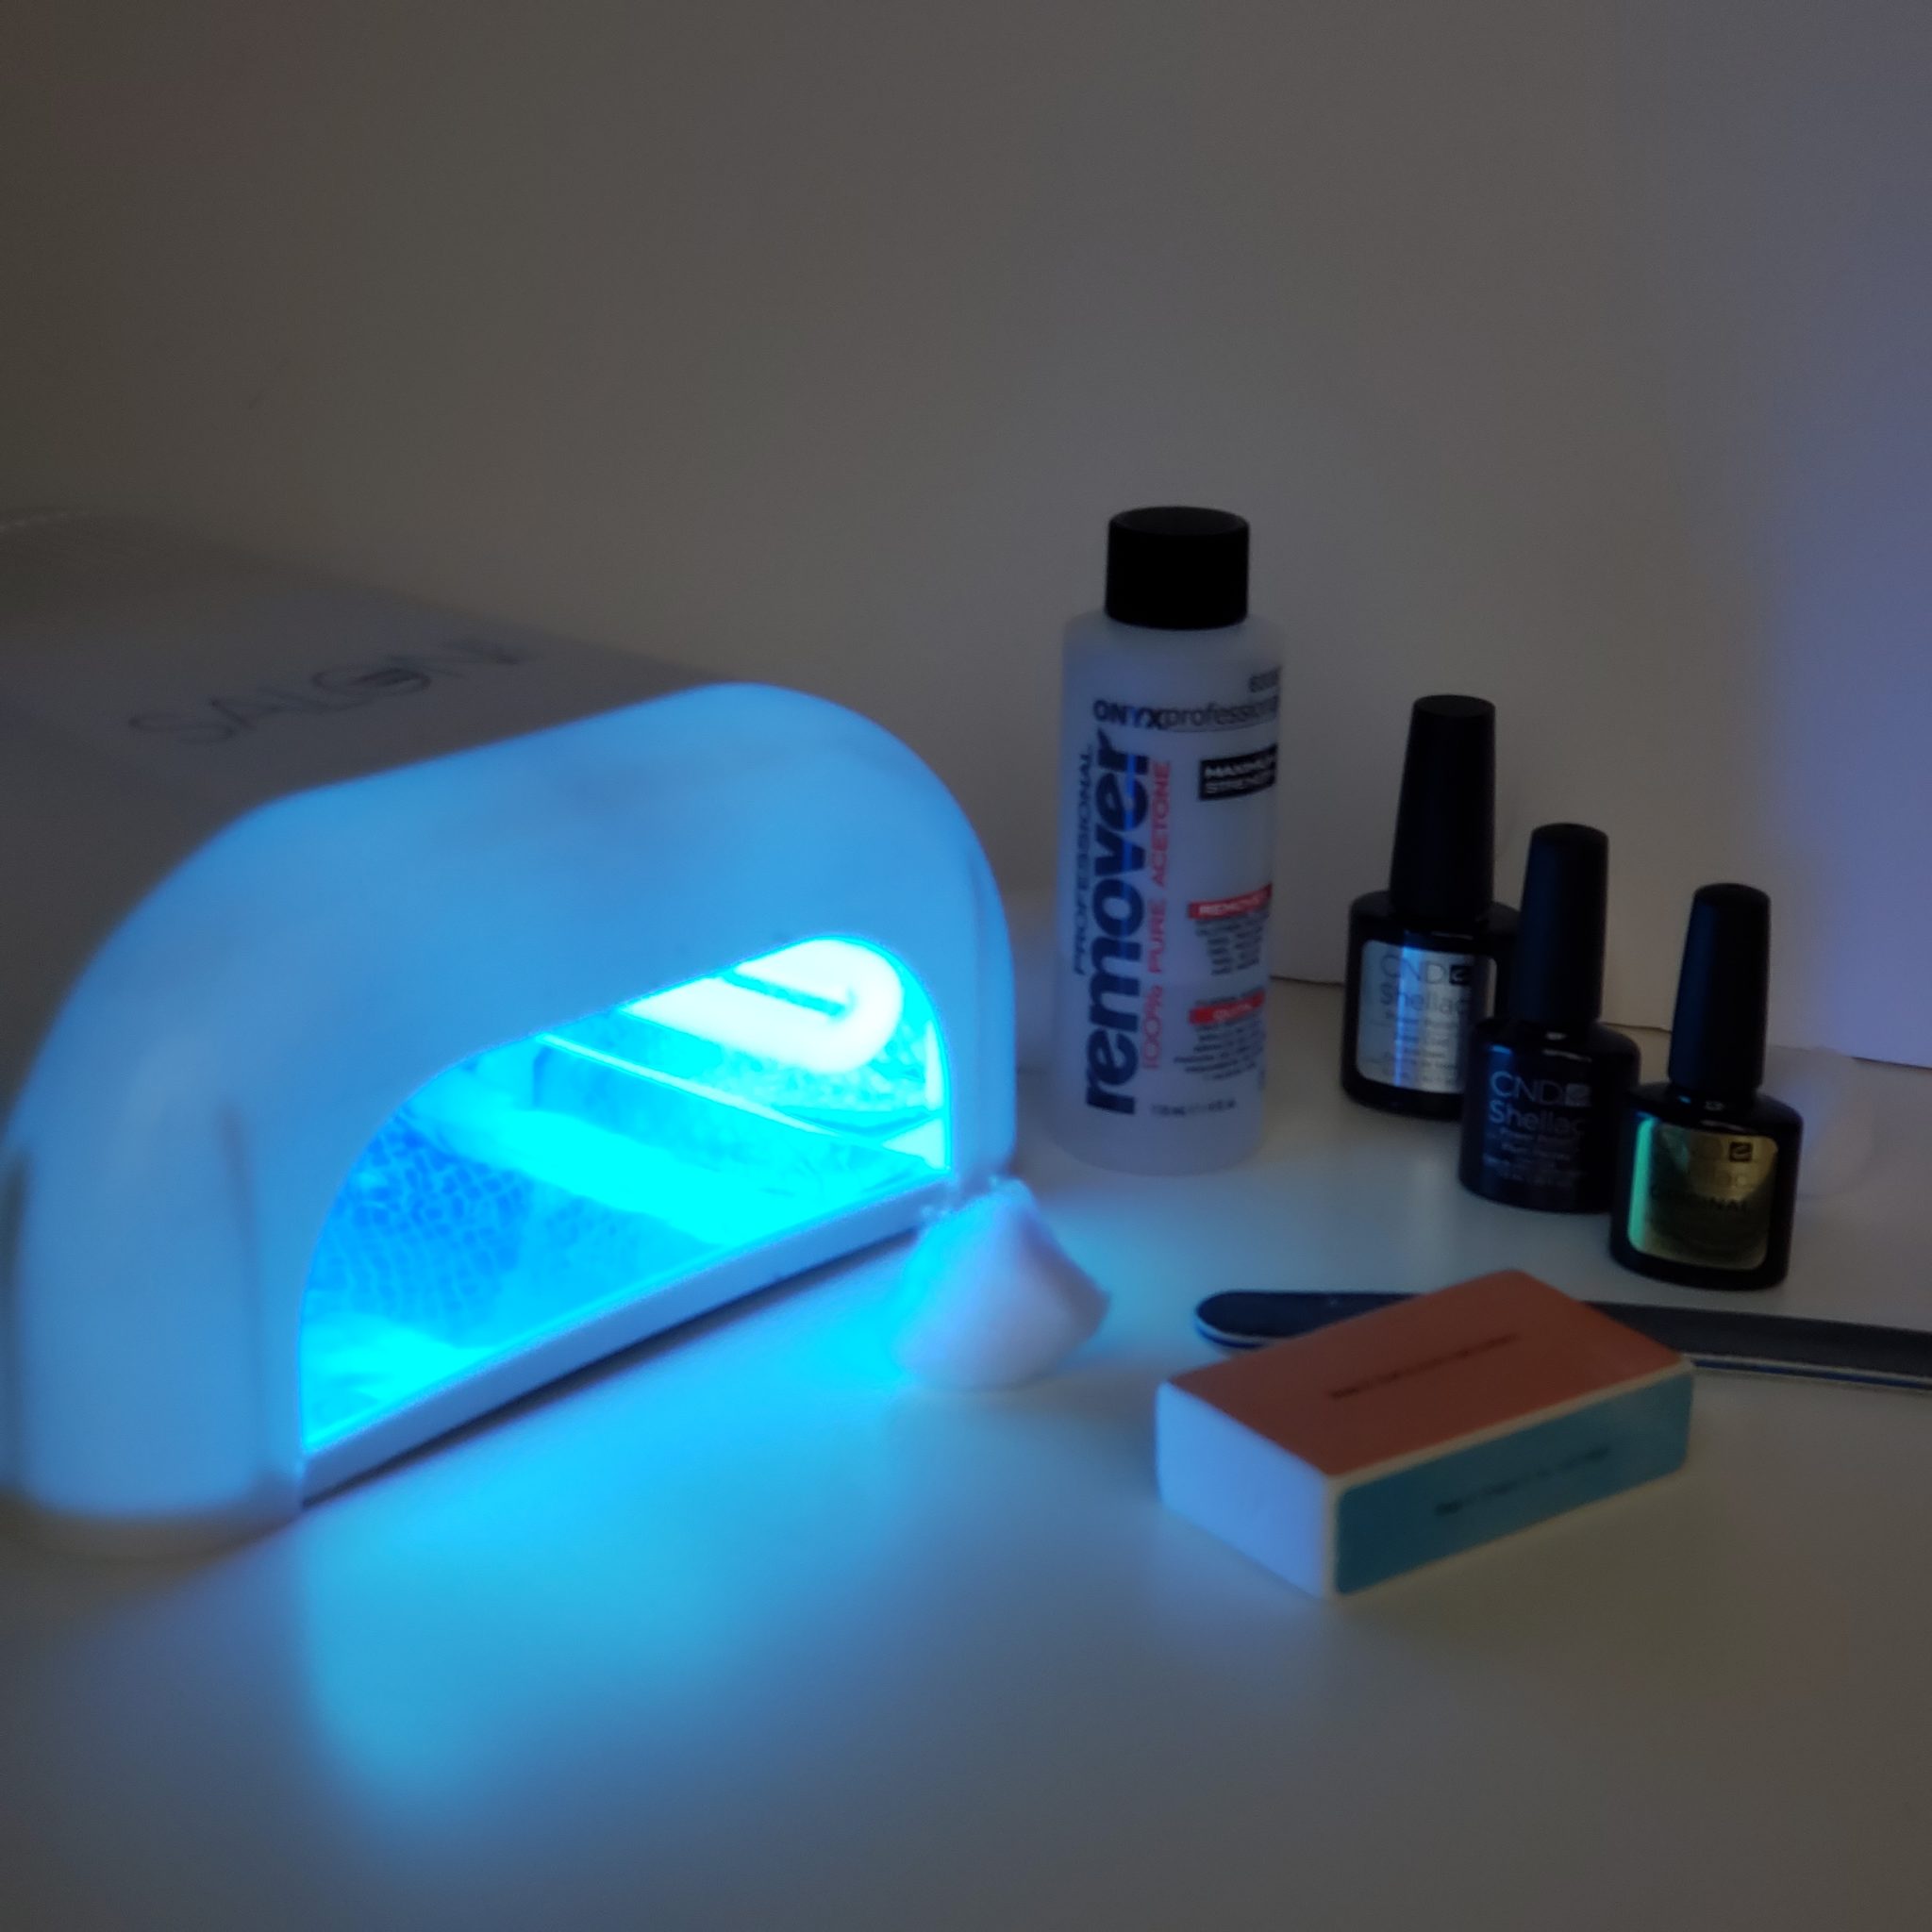
Step 6: Apply an even layer of top-coat and place hands under the LED light for 2 minutes.
Step 7: Wet a cotton ball with acetone (does not need to be soaked–a simple tip of the bottle onto the cotton ball is enough) and wipe each nail to seal the top-coat.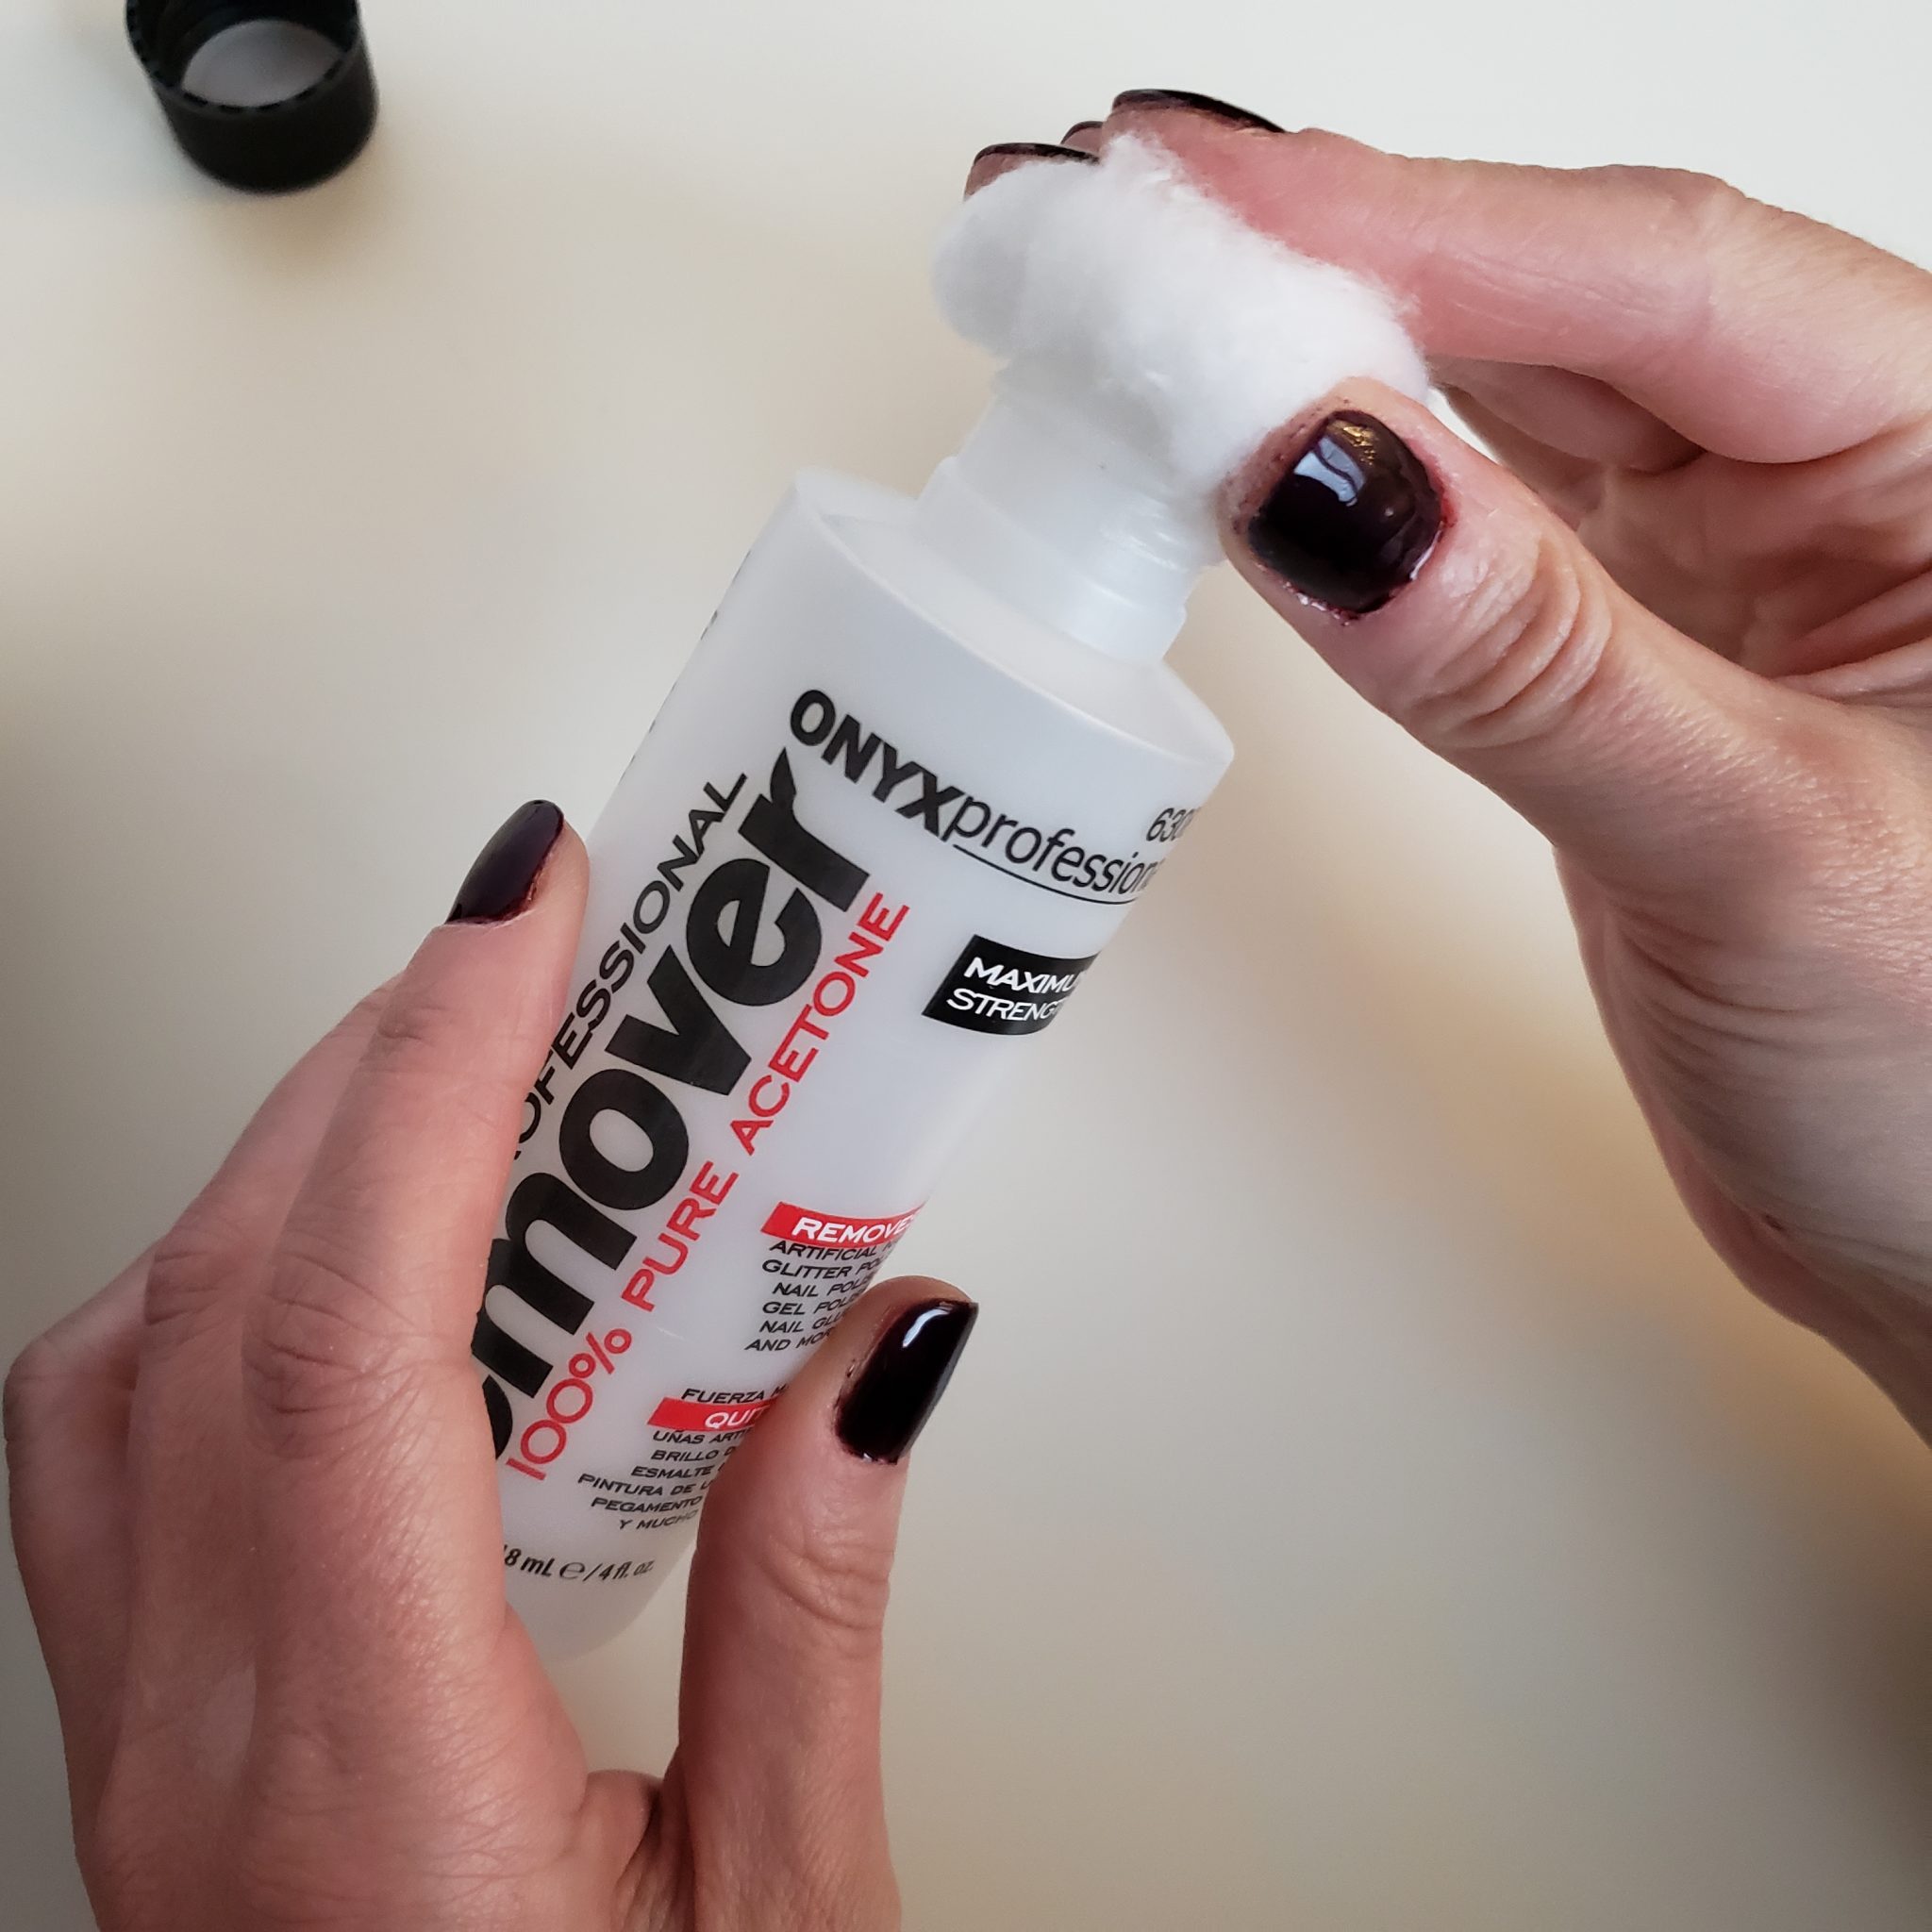
To Remove Gel Polish:
DO NOT PEEL! Peeling the gel polish off can damage the nail surface and take months to grow out.
To remove a no-chip manicure, soak your nails in acetone for 15 minutes, or use these Clip Caps.
Gel Polish Pros and Cons
Pros:
● Budget-friendly! A single no-chip manicure can run from $35 – $65. With this DIY, and initial investment of under $100, you’ll get dozens of manicures for the price of two!
● 2 weeks of no-maintenance, shiny, sturdy nails
● No need for an appointment
● Quarantine friendly
● Can prevent nail biting
Cons:
● Can damage the nail surface, especially if not removed as instructed ● Increased UV exposure if using a UV light (Try these UV gloves if you have a UV light!)
● Building your color collection can be pricey
Common Issues with No-Chip Manicures
Why is my gel polish rippling? Chances are your base coat is too thick. Try to apply a super thin layer, just enough to make the nail surface tacky.
How do I get gel polish off my skin? If the polish is still wet, a cuticle stick can be used to gently scrape it off the skin. If the polish has dried, a cotton swap dipped in acetone will do the trick. Otherwise, after about 24 hours, any polish remaining on the skin can usually be easily removed in the shower.
My hands are too shaky. Use your pinky finger to stabilize your hand as shown in the photo below.
Uneven color after sealing. It’s likely that your topcoat was either too thin or not evenly covering the nail surface allowing the acetone to wipe away the color underneath. Try to get that topcoat to evenly cover the entire nail surface.
Gel nails still sticky after sealing. Just give them a quick wash with soap or do a few dishes by hand.
Why is my no-chip manicure peeling? You may have missed a spot when roughing the surface of the nail or when applying the base coat. Be sure to create texture along the entire surface in step 2 and make sure the base coat reaches the nail edge in step 3.
Creative No-Chip Manicures
Once you’ve had a little practice with the application, it’s time to let your creativity soar! Experiment with different color combinations, sparkly mineral powders, stencils, or freehand designs. Just add your preferred flair before applying your topcoat.
Remember to give no-chip manicures a break every couple of months to let your nails breathe and use a nail treatment to nourish nails.
Read This Next:
Now that you know how to pamper your fingernails, head over to this post and learn all about cuticle health.